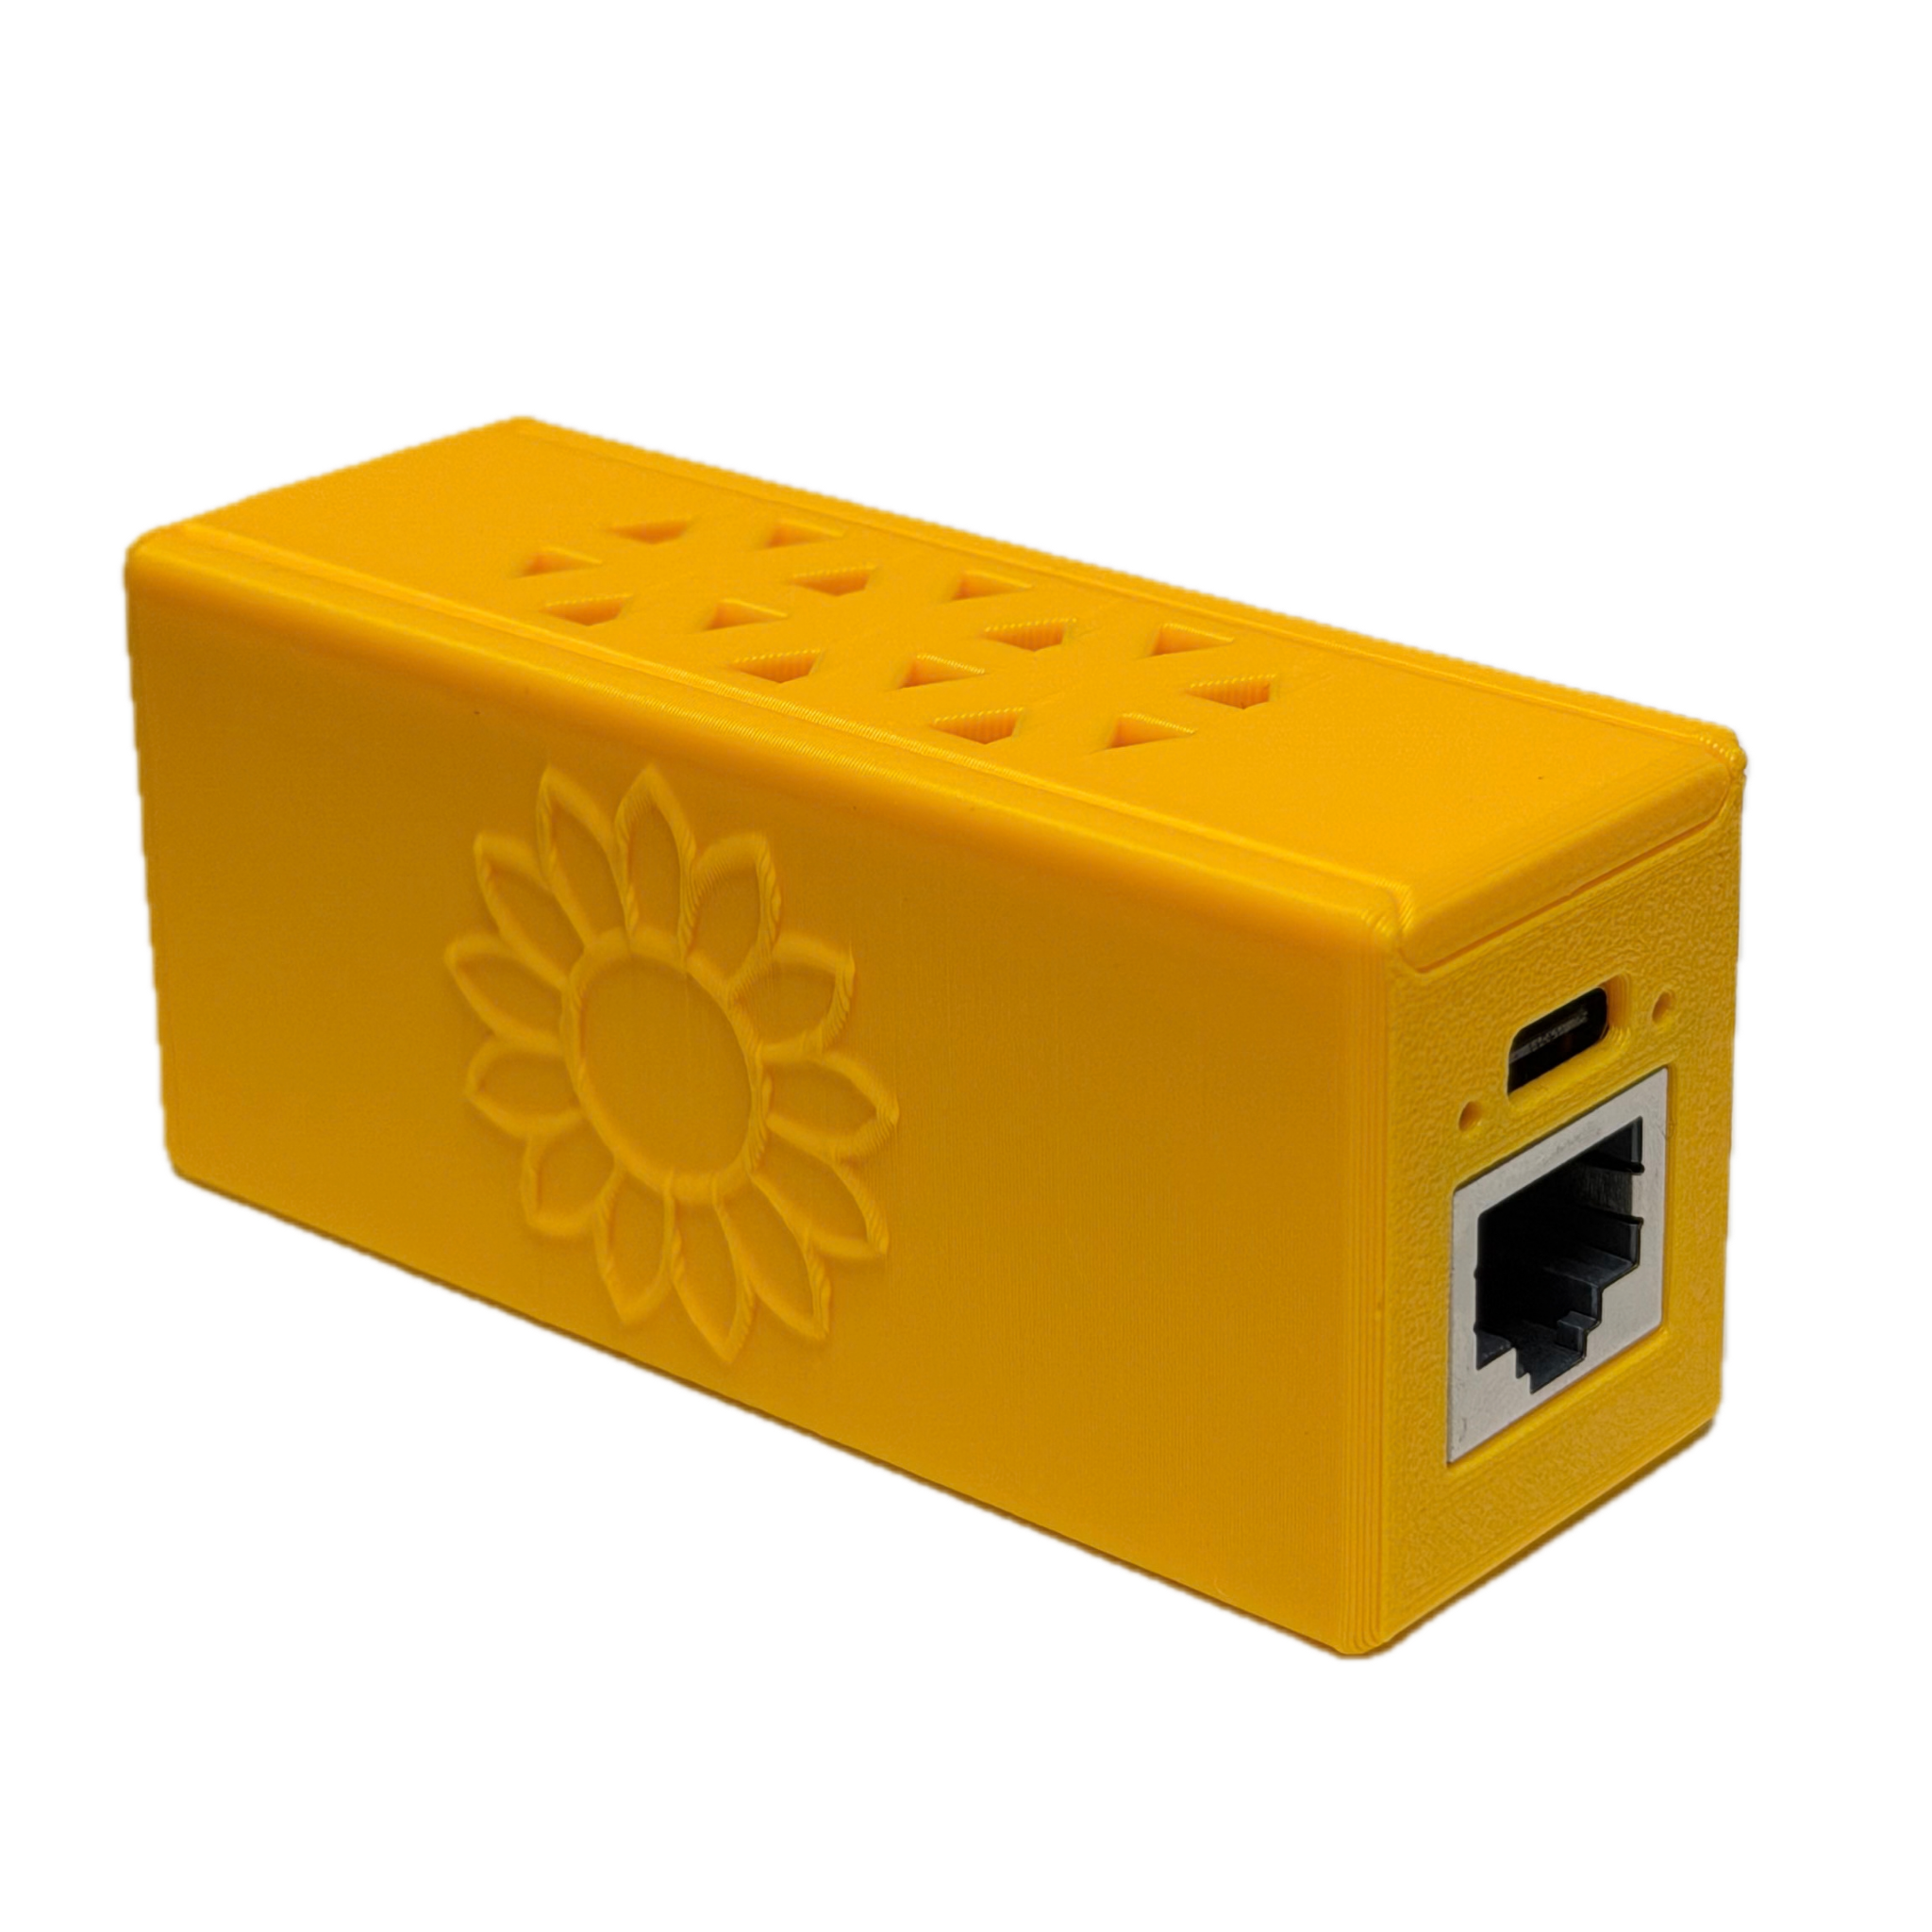
Do I need the Bridge to use the app?
It depends on whether your PVS is connected to your home Wi-Fi. If it is, the
Bridge is optional — the app works great on its own, showing live data, panel
detail, insights, and alerts. Without a Bridge, though, the app can only fetch data
while it's open and your phone is on the same network as your PVS. The Bridge adds
remote access and always-on monitoring by syncing your data every 30 minutes,
around the clock. If your PVS can't connect to Wi-Fi,
the Bridge Ethernet Edition is required: it connects to your PVS with a cable so
the app can reach your system's data.
What is the Premium Pass?
The Premium Pass is a one-time $79.99 purchase that unlocks every Premium feature
with no recurring subscription. It covers one site for as long as that site's PVS
stays in service — it doesn't cover additional sites, and it ends if the PVS is
replaced or the home changes hands. The Premium Pass is sold on the
Sunflower dashboard; sign in
to purchase. Not a fit? Email
[email protected] within
30 days of purchase for a full refund. See the Terms of
Service for the full license terms.
I have a yearly subscription. Can I switch to the Premium Pass?
Yes. If your yearly subscription is active, sign in on the
Sunflower dashboard and your
$12 credit is applied automatically at checkout, so the Premium Pass costs just
$67.99. After purchasing, cancel your yearly subscription in your App Store or
Google Play subscription settings so it doesn't renew — we can't cancel app store
subscriptions on your behalf.
Can I cancel my app subscription at any time?
Yes. Subscriptions are managed entirely through the App Store (iPhone) or Google
Play (Android). Cancel anytime in your device's subscription settings —
no hoops, no retention flows, no emails required. The Premium Pass is a one-time
purchase, so there's nothing to cancel.
How difficult is the Bridge hardware setup?
Very simple. Open the Sunflower app, tap "Pair Sunflower Bridge," and follow the
step-by-step setup — most people are done in a few minutes, with no tools or
installer needed. The Standard edition plugs into any 5V USB-C power; the Ethernet
Edition connects to your PVS's LAN1 port and USB port with the included cables.
Which Bridge edition do I need?
Choose the Standard edition if your PVS is connected to your home Wi-Fi — the
Bridge pulls its data over the same network. Choose the Ethernet Edition if your
PVS can't stay on Wi-Fi or struggles with wireless connections: it connects to
the PVS's Ethernet port with a cable instead. Both editions sync to the cloud
over your home Wi-Fi every 30 minutes and unlock the same features.
Is there a free trial?
Yes. The app includes a 3-day free trial of Premium, managed through the App Store
(iPhone) or Google Play (Android) — no payment until the trial ends. After the
trial, a subscription or the Premium Pass is needed to keep full access to history,
insights, and alerts.
Which solar systems does Sunflower support?
Sunflower supports SunPower / SunStrong systems with a PVS5 or PVS6 monitoring
device. Not sure if your system is compatible? Download the free app and check —
setup takes about a minute.
Sunflower can't discover my PVS — what should I do?
- Check if your PVS is active. PVS units go into a low-power sleep mode during periods of little or no sunlight. Try again during daylight hours when your system is actively generating power.
- Confirm your PVS is online. Make sure it's connected to your home network — either via Wi-Fi or Ethernet. A quick check: if you can see live data in the SunStrong app or portal, your PVS is online.
- Avoid isolated network segments. Your phone and PVS must be on the same network. Guest Wi-Fi networks are typically isolated from other devices, which prevents discovery. Use your main home Wi-Fi instead.
- Enter the IP address manually. Find your PVS's local IP in your router app or admin console (look for a device named "PVS5" or "PVS6"), or use a network scanner like Fing. Then enter it directly in Sunflower instead of using auto-discovery.
We also recommend setting a DHCP reservation (sometimes called a "static IP") so
the address doesn't change. Here's how to find the IP and set a reservation in the most common router apps:
| Router brand | App | Find PVS IP | Set static IP (DHCP reservation) |
| Amazon eero | eero | In the device list, find your PVS (look for a device named "PVS5", "PVS6", or similar) and tap it to see its IP | Settings → Advanced networking → Reservations & port forwarding |
| Google Nest | Google Home | Wi-Fi → Devices → find your PVS ("PVS5", "PVS6", or similar) and tap it to see its IP | Network settings → Advanced Networking → DHCP IP reservations (or tap "Pin" next to the IP) |
| TP-Link Archer / Deco | TP-Link Tether (Archer) or TP-Link Deco | Client list → find your PVS ("PVS5", "PVS6", or similar) and tap it to see its IP | Deco: Advanced → Address Reservation. Tether/Archer: IP visible in app, but DHCP reservation requires the web admin console. |
| ASUS | ASUS Router | Devices tab → find your PVS ("PVS5", "PVS6", or similar) and tap it to see its IP | Select device → Advanced Settings → IP Reservation / Bind |